Add from the ChatGPT store
1
Find Firmable
In ChatGPT, open Apps (also labelled Plugins) from the sidebar
(under More if it’s not pinned), or go directly to
chatgpt.com/plugins?q=firmable. Search for 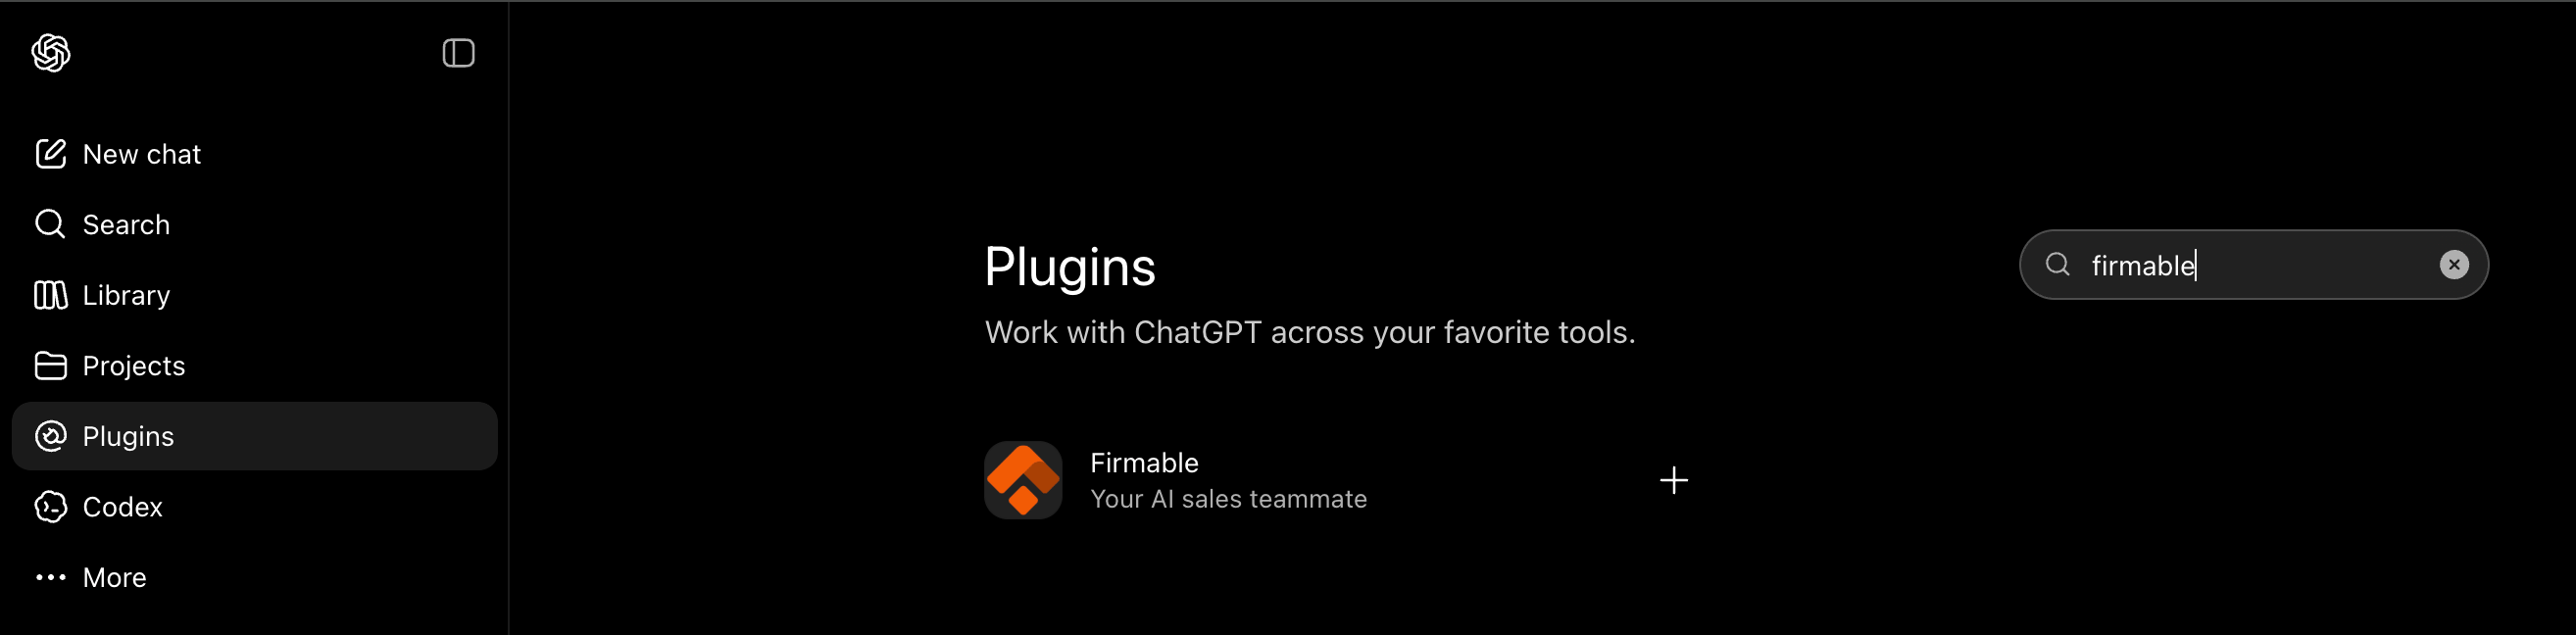
firmable,
then click Firmable to open it.2
Install the plugin
On the Firmable page, click Install plugin.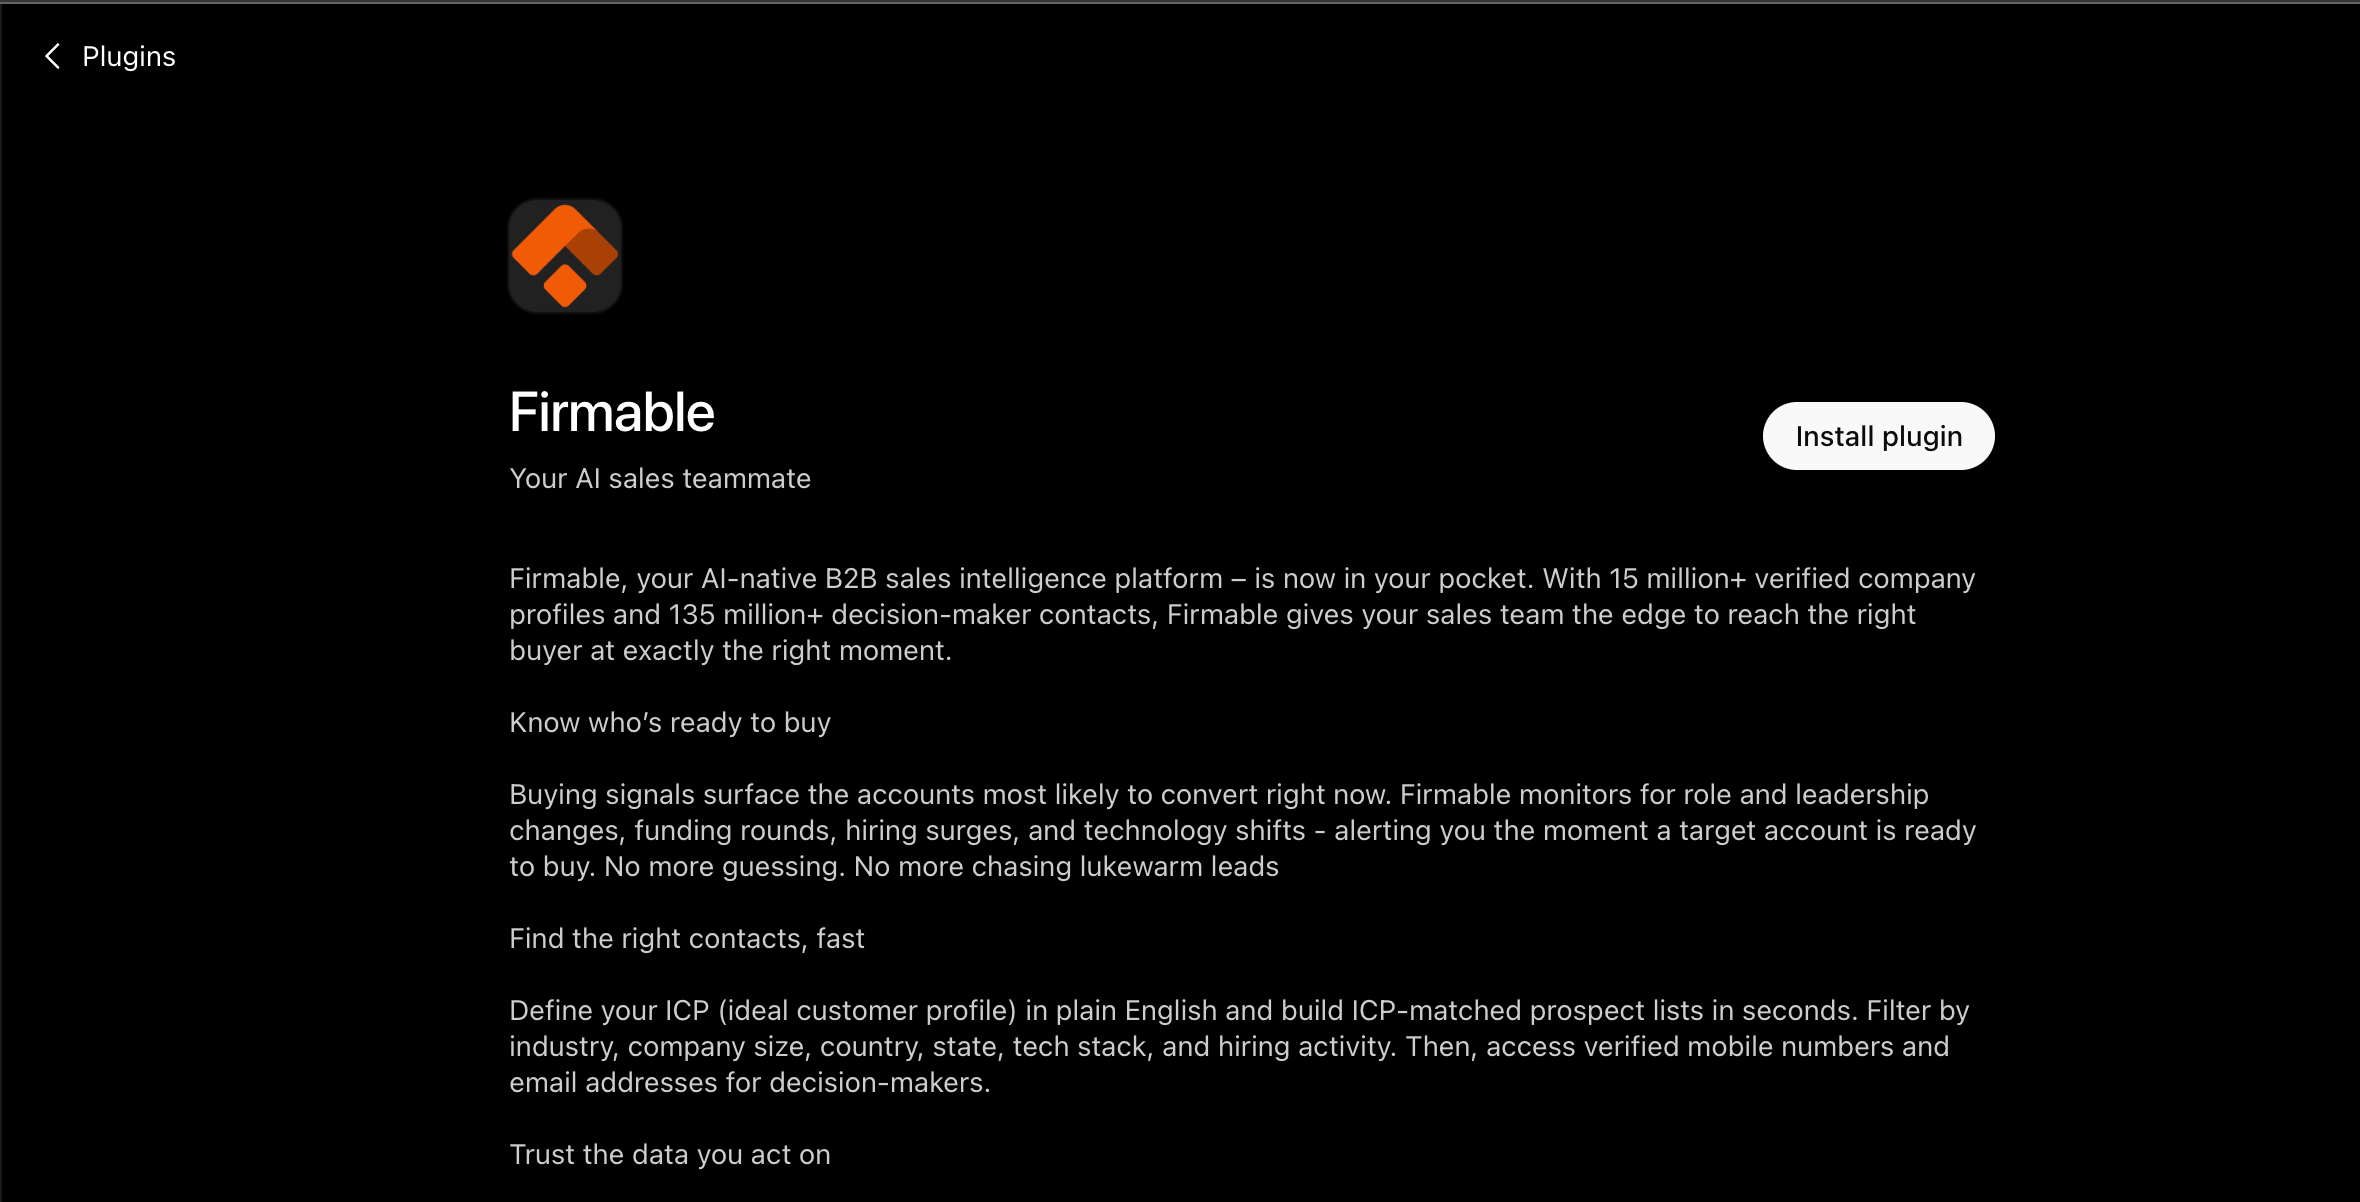
3
Sign in with Firmable
In the Add Firmable to ChatGPT dialog, click Sign in with Firmable.
4
Follow the prompts to finish
Follow the remaining prompts and click Allow to authorize access. Once connected, enable
Firmable from the + → More menu in a chat to start using it.
Add manually (custom connector)
Only needed if the Firmable app isn’t available in your ChatGPT plan. You’ll need the MCP URL
and Client ID — see URL & Client ID.
1
Open Settings
In ChatGPT, click your profile at the bottom of the sidebar and choose Settings.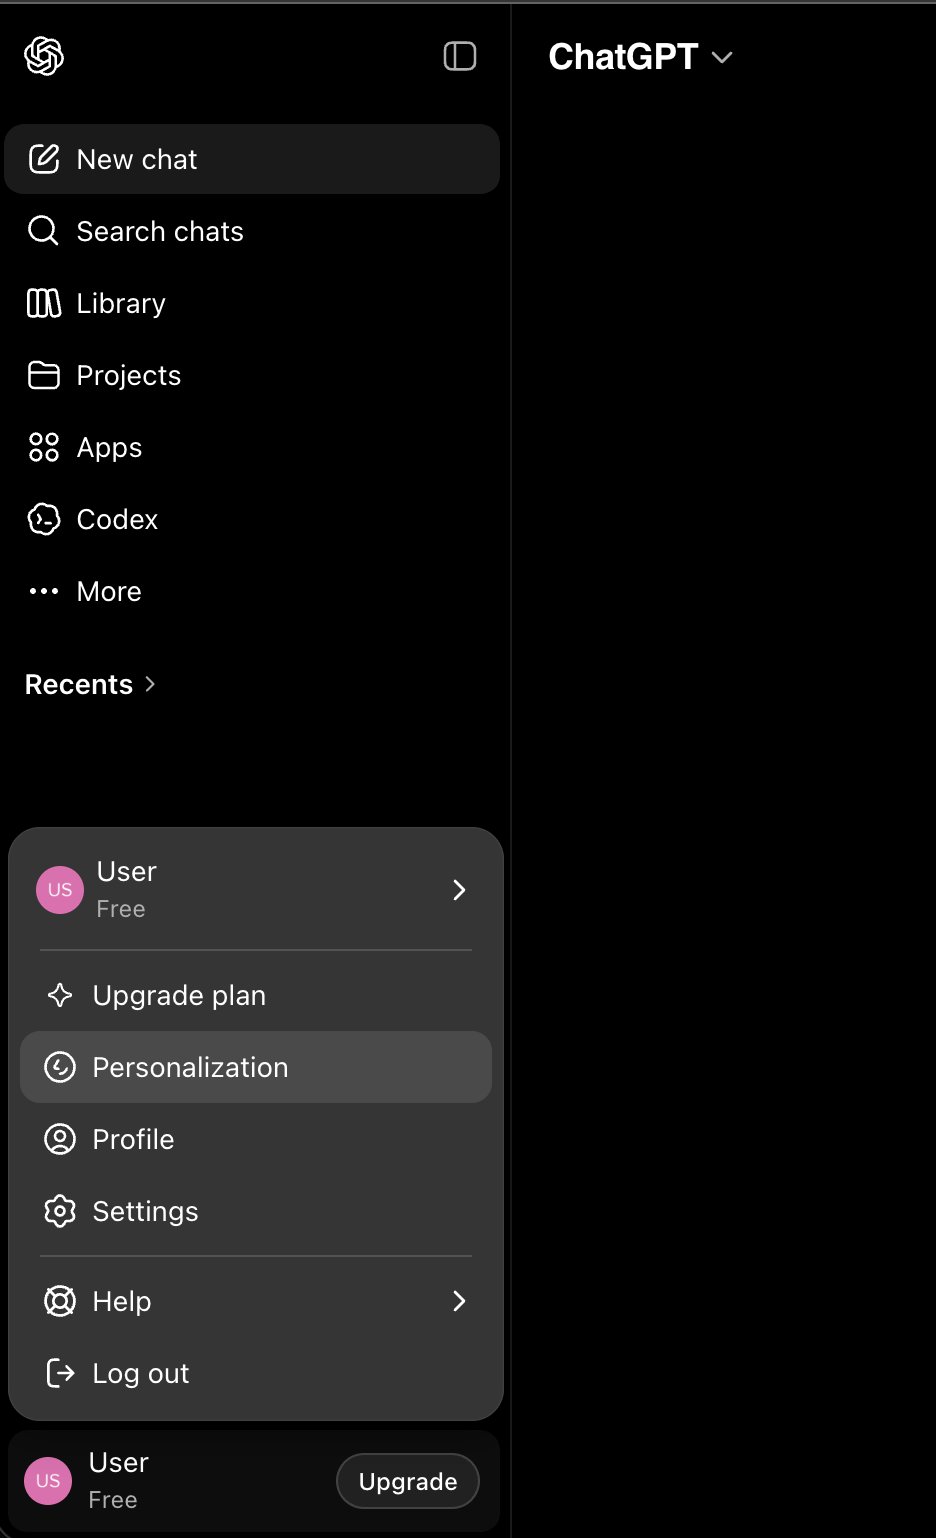
2
Open Apps → Advanced settings
Go to the Apps tab, then click Advanced settings.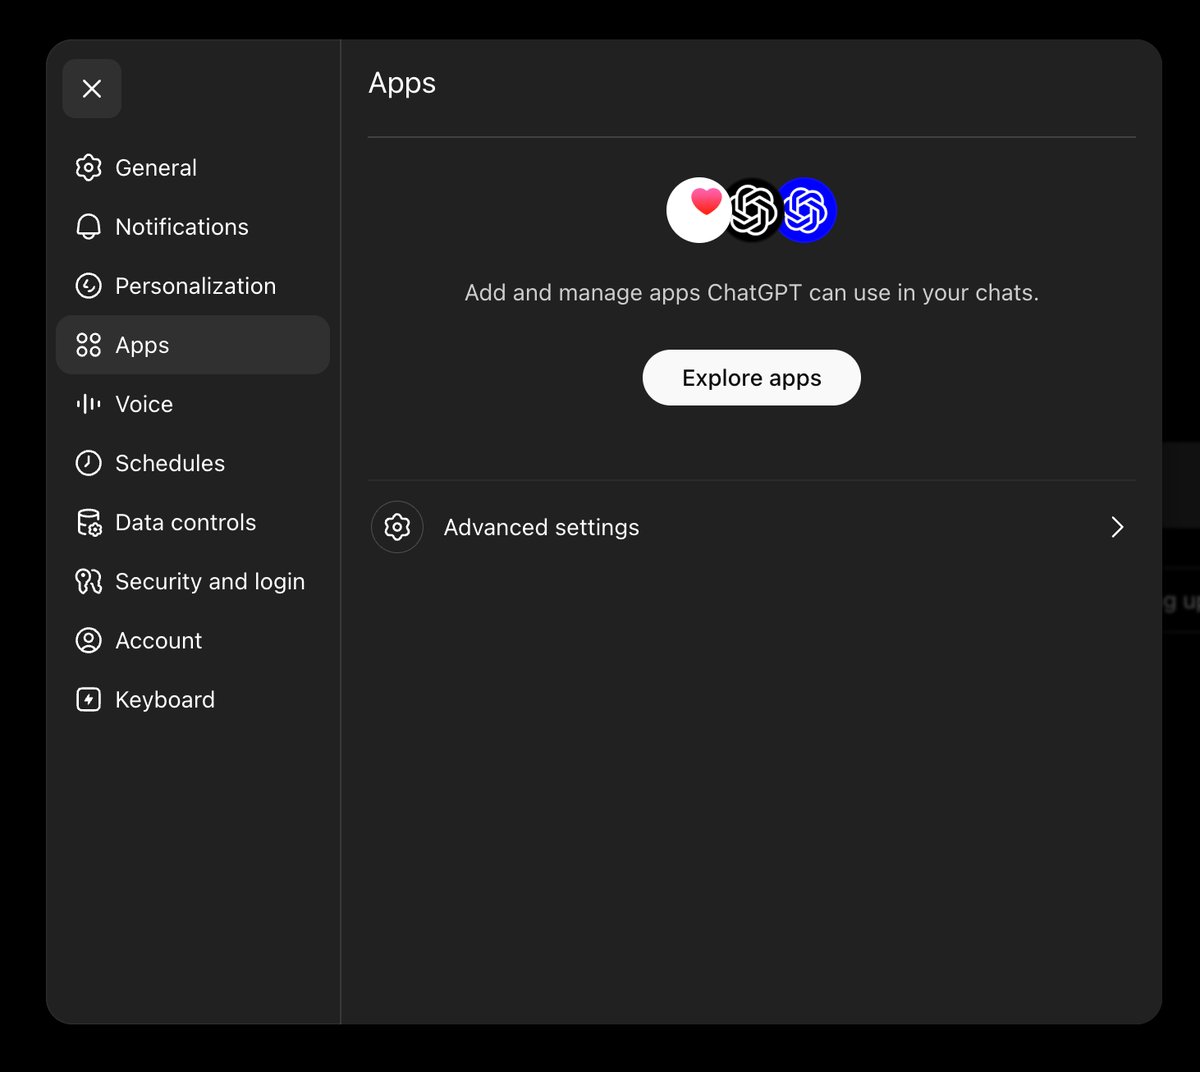
3
Enable Developer mode and create an app
Turn on Developer mode (this is what lets you add an unverified custom connector), then click Create app.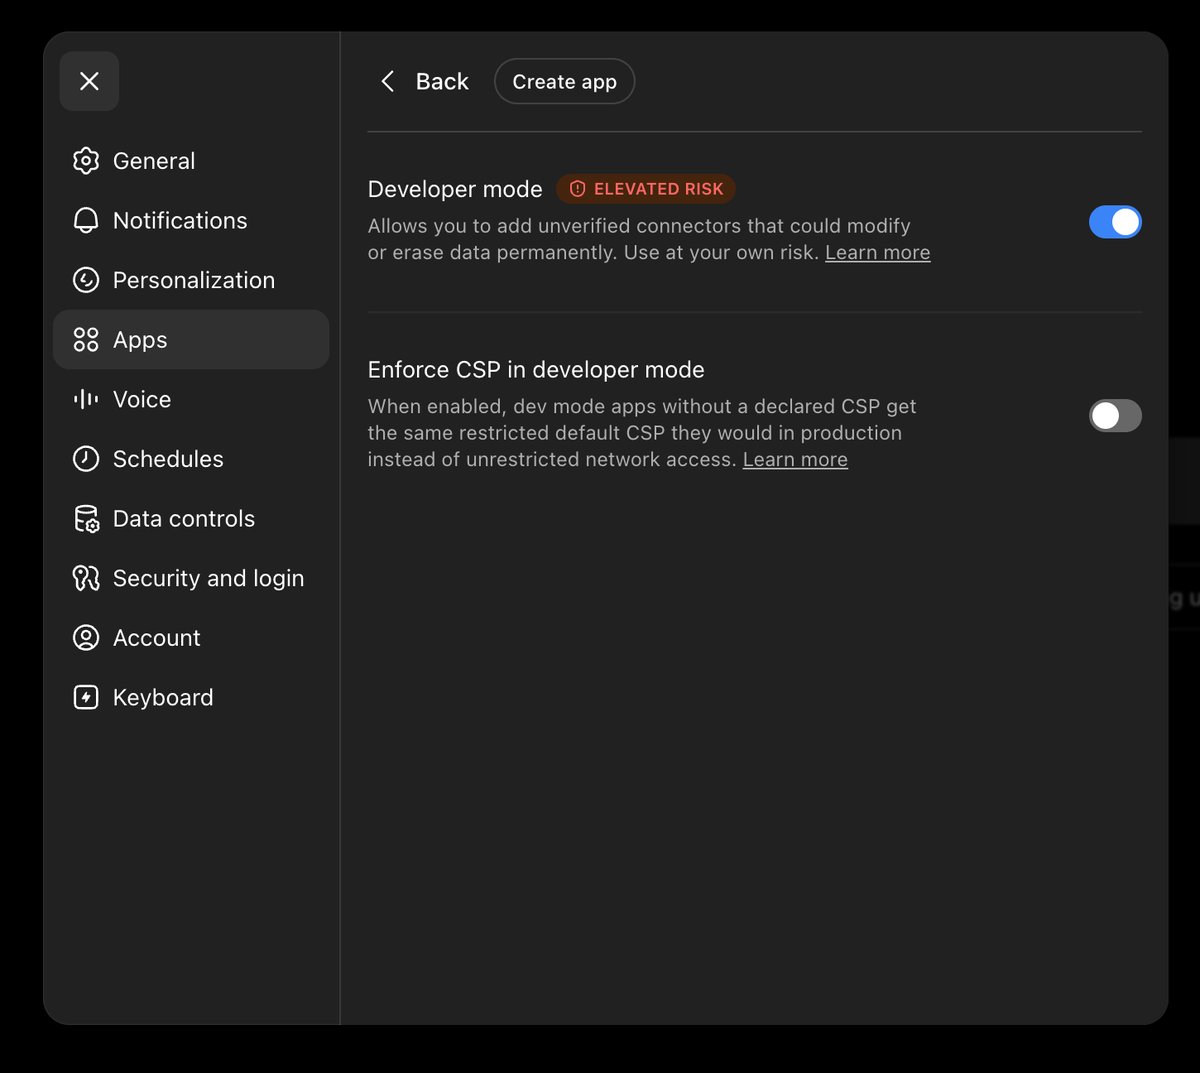
4
Enter the Firmable MCP details
Fill in the New App form: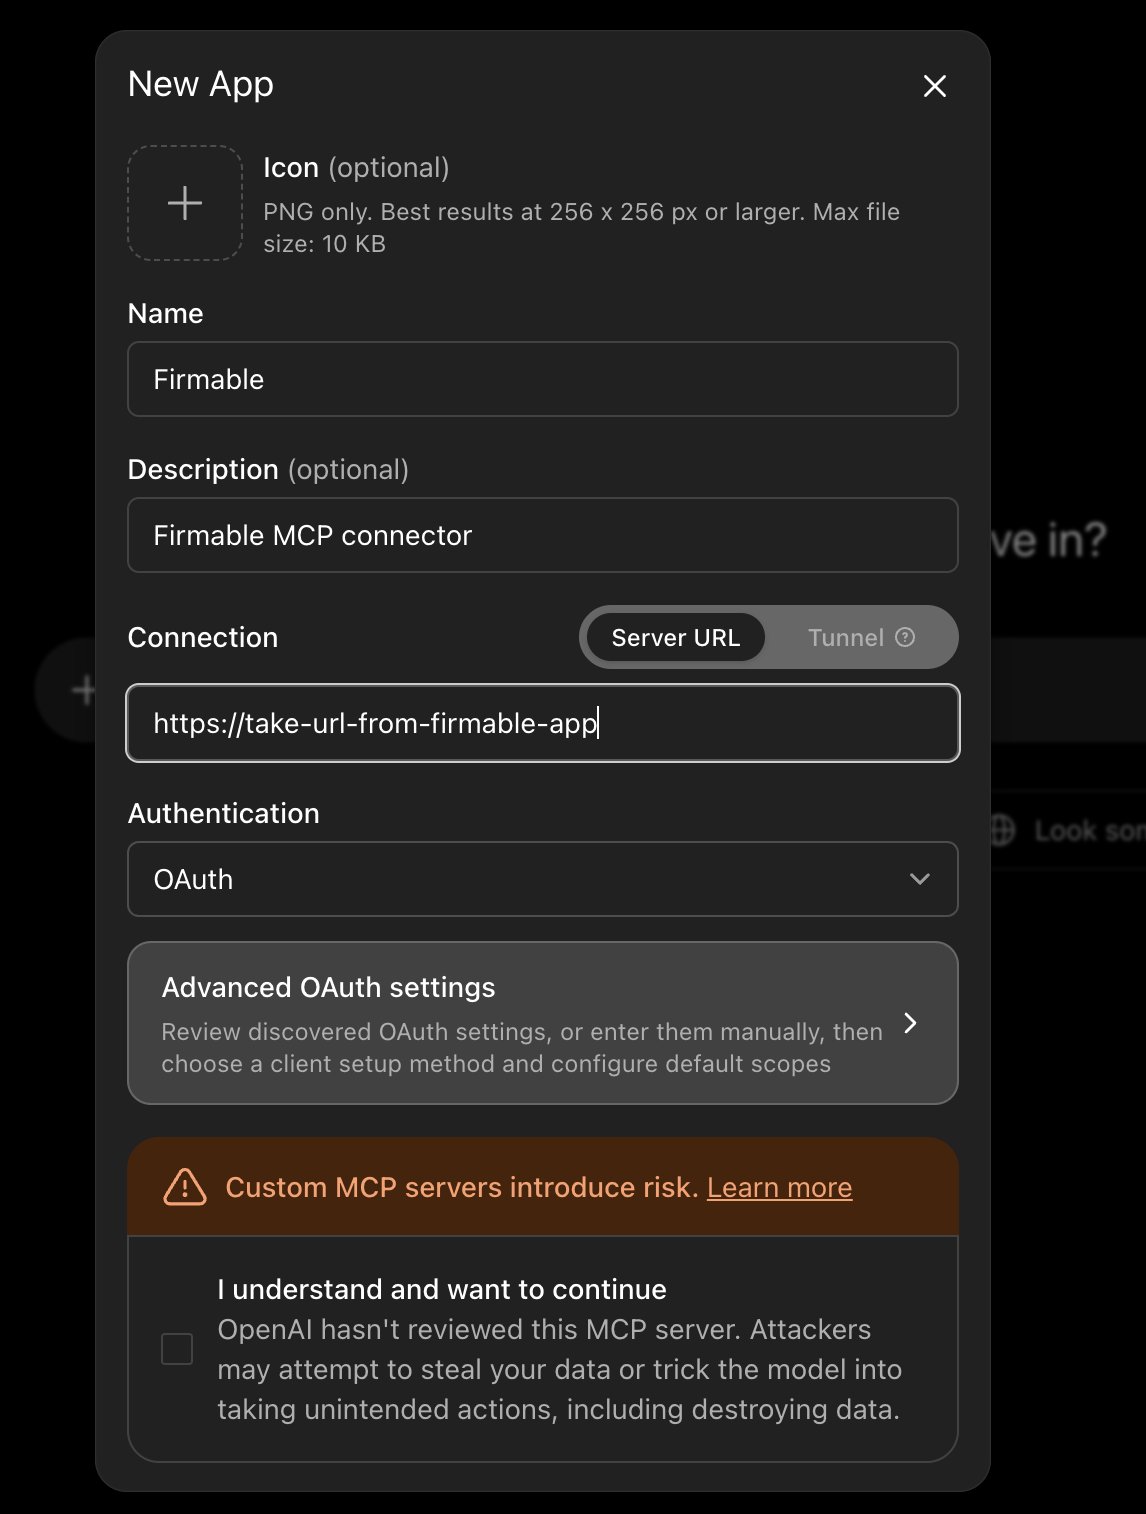
- Name: anything you like — this guide uses
Firmable - Description (optional): e.g.
Firmable MCP connector - Connection: keep Server URL selected and enter the MCP URL (from URL & Client ID)
- Authentication:
OAuth
5
Configure OAuth and create
Expand Advanced OAuth settings and set the Registration method to User-Defined OAuth Client —
this lets you use the Firmable credentials. Enter the Client ID (from
URL & Client ID; leave the secret blank unless Firmable gives you one). If Firmable asks for a redirect/callback URL, copy the Callback URL shown here.Finally, tick I understand and want to continue to acknowledge that custom MCP servers aren’t reviewed by OpenAI, then click Create.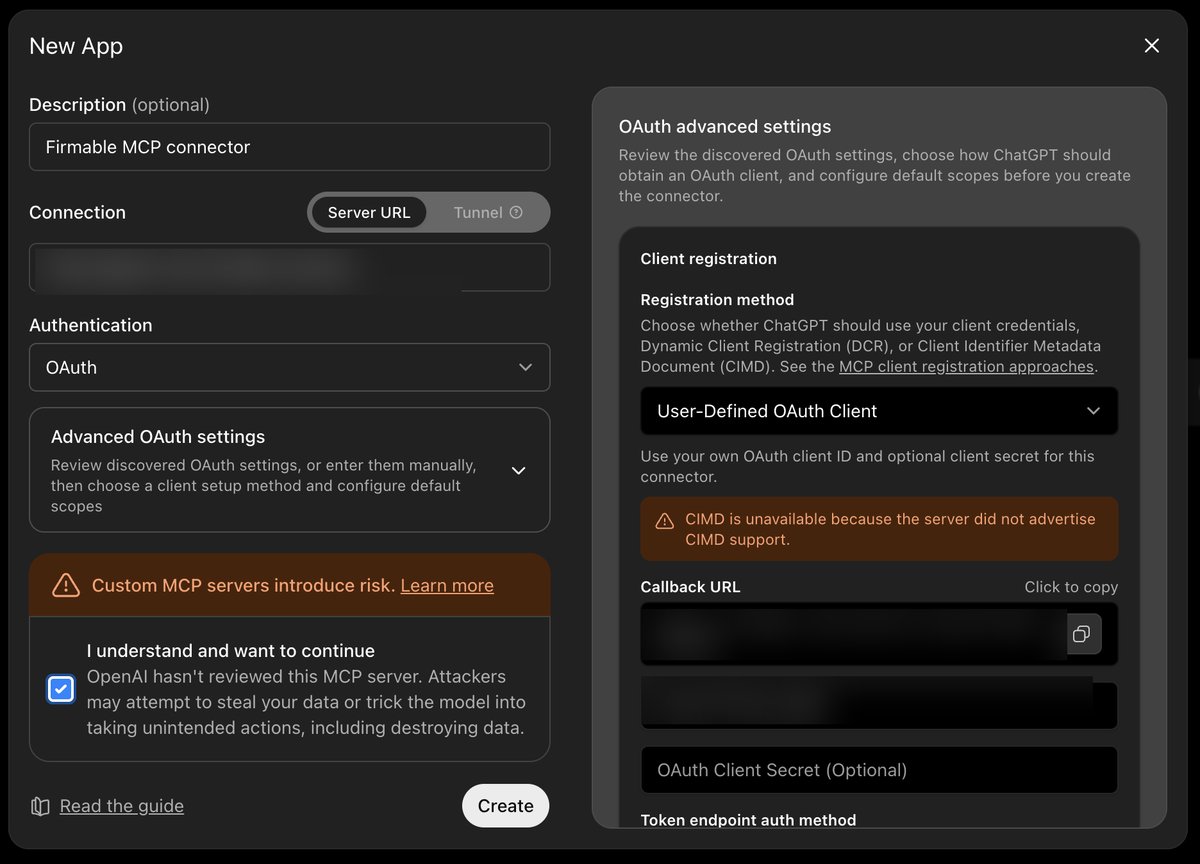
6
Sign in with Firmable
On the prompt, click Sign in with Firmable.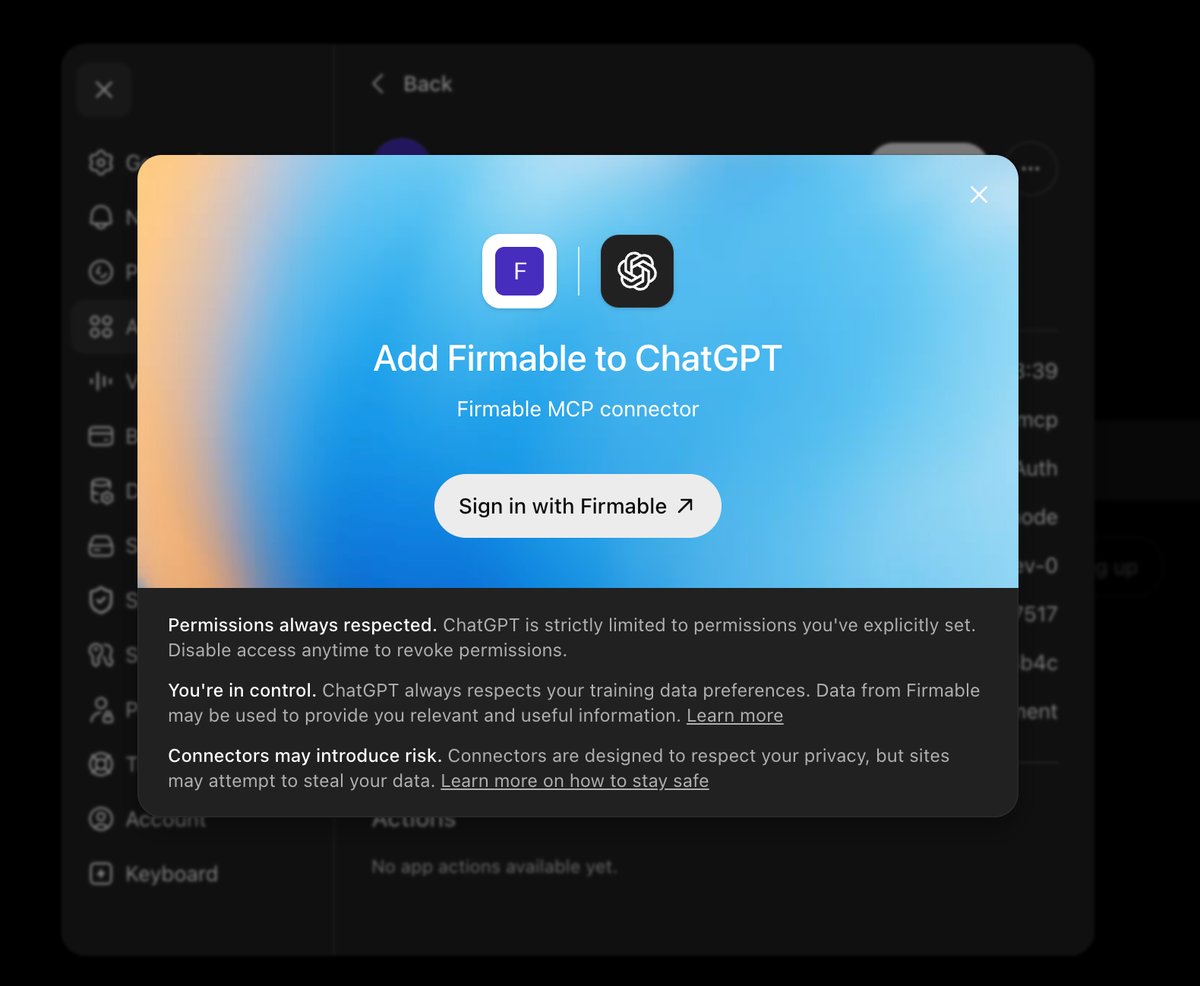
7
Authorize
Click Allow to grant ChatGPT access to Firmable.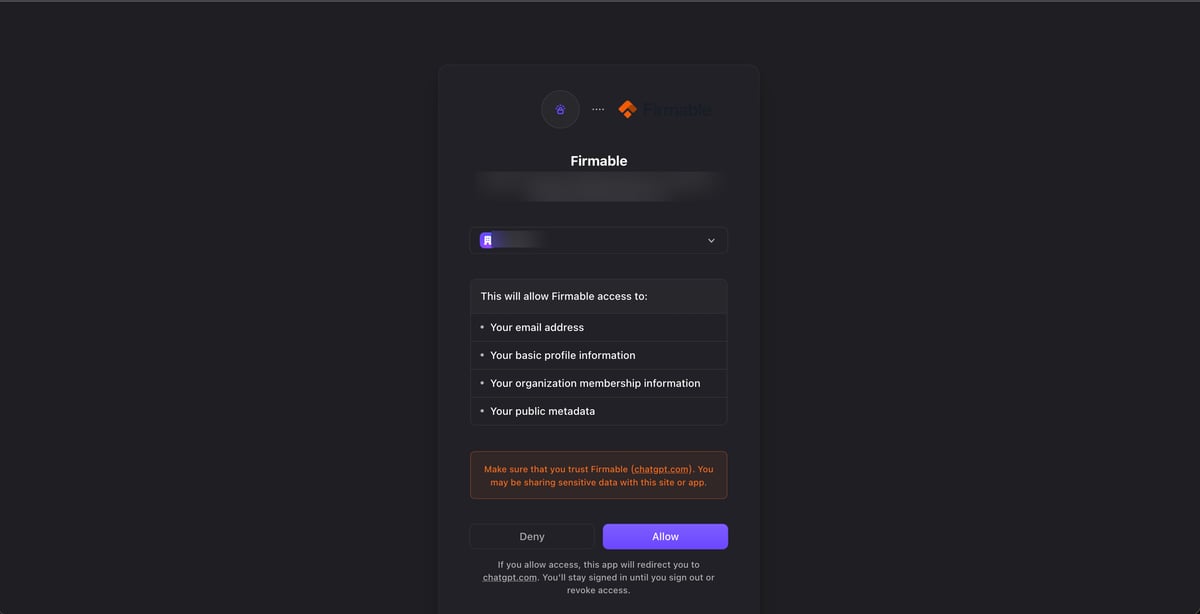
8
Use it in a chat
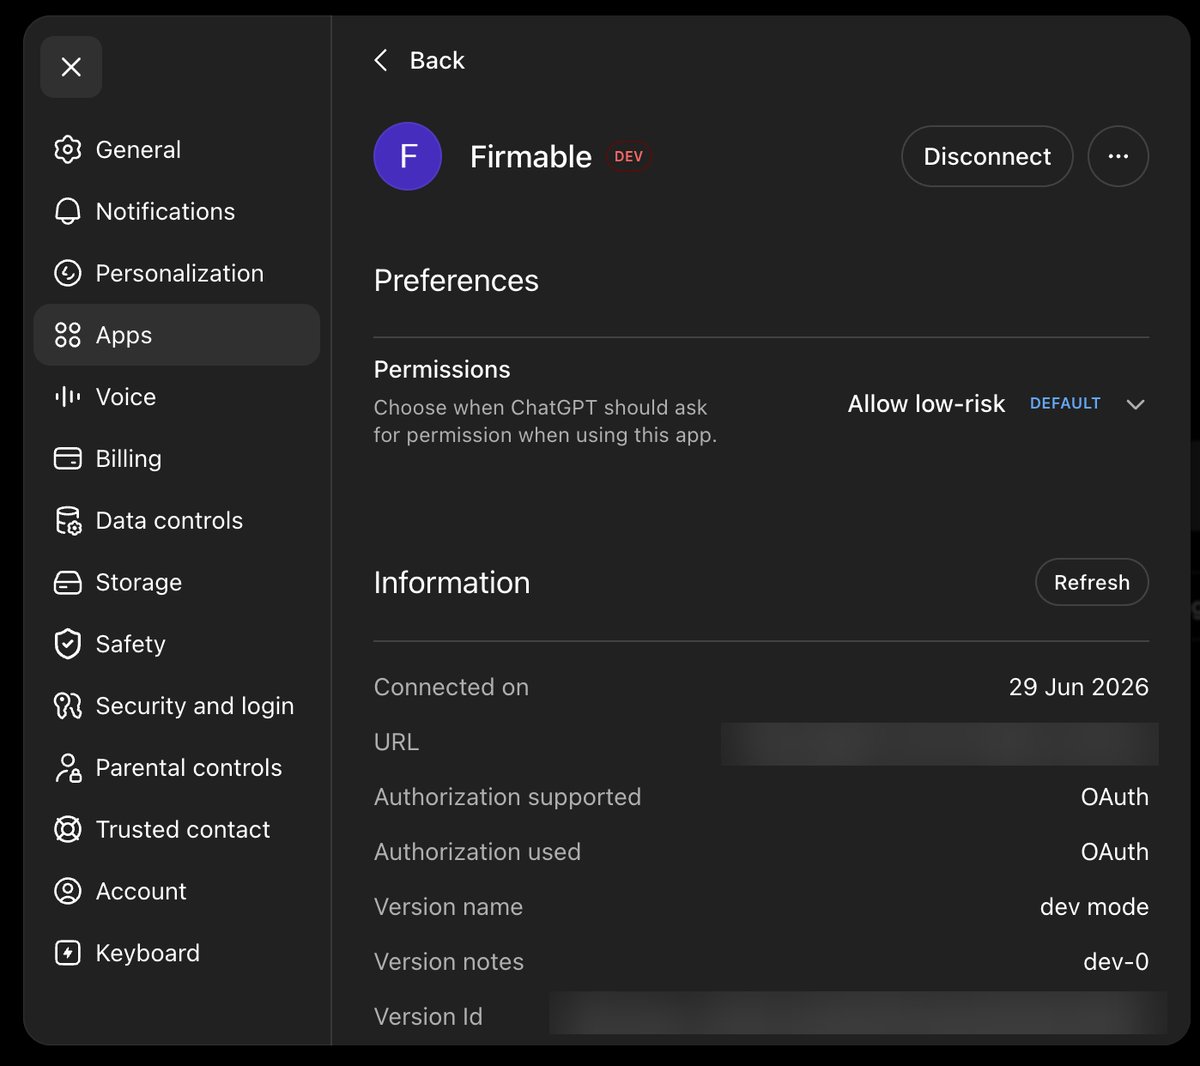
Firmable is now connected. Choose when ChatGPT can use it, then enable Firmable from the + →
More menu in a chat to start using it.